icecrystals - RC1
Icecrystals - Icersplicer written in Crystal for performance benefits of compiled code.
There is a more extensive Ruby version @ http://github.com/puppetpies/icersplicer
Youtube

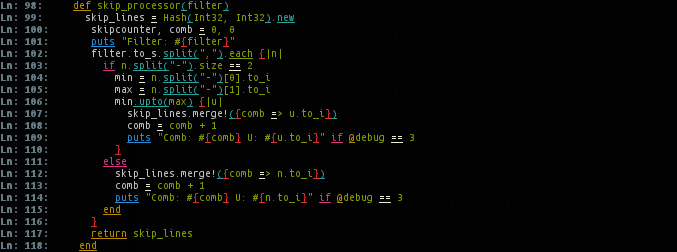
##Syntax Highlighting
Installation
You need Crystal 0.11 / 0.12 installed or later works with latest 0.14 release
You can build icecrystals with
make
make install
Usage
Home: /home/brian/.icersplicer
Usage: icecrystals 3.0.4 [options]
    -f INTPUTFILE, --inputfile=INPUTFILE	Input filename
    -k keywords.ice, --keywordsfile=KEYWORDSFILE	Keywords / Syntax Hightlighting
    -g STRING, --grep=STRING         Filter string
    -l INT, --lineoffset=INT         Offset from the beginning of the file
    -3 INT, --head=INT               From beginning of file number of lines display able
    -4 INT, --tail=INT               lines display able at the end of the file
    -c, --countlines                 Counts the lines of a file
    -s INT, --skiplines=INT          Line numbers / sequences 3,4,5-10,12
    -b, --skipblank                  Ommit blank lines
    -t, --nohighlighter              Turn off highlighter
    -7, --nolinenumbers              No Line numbers
    -o OUTPUTFILE, --outputfile      Outputfile
    -q, --quiet                      Quiet
    -h, --help                       Show this help

Author: Brian Hood
Homepage: https://github.com/puppetpies/icecrystals
Development
Most features Icersplicer are now functional.

Followtail not implemented
Usage
For keywords files to work put them under your $HOME/.icersplicer folder you don't have to specify paths not required in -k we just look under .icersplicer
icecrystals -f mytestfile.rb -k keywords-ruby.ice

A few examples

icecrystals -f testfile -c # Countlines
icecrystals -f testfile --head 30 # Display 30 lines same for tail
icecrystals -f testfile --skiplines 3,5-9,10 # Skips lines 3 Range 5 to 9 and line 10 # Large line ranges affect performance
Contributing
- Fork it ( https://github.com/puppetpies/icecrystals/fork )
- Create your feature branch (git checkout -b my-new-feature)
- Commit your changes (git commit -am 'Add some feature')
- Push to the branch (git push origin my-new-feature)
- Create a new Pull Request
Contributors
- [puppetpies]](https://github.com/puppetpies) Bri in The Sky - creator, maintainer